http://photoshoptutorialsite.com/2010/08/create-gold-ornamental-text-in-photoshop/


Ornamental text can be created in several ways. Today we will demonstrate how to combine several stock images to create some nice gold ornamental typography. Let’s get started!


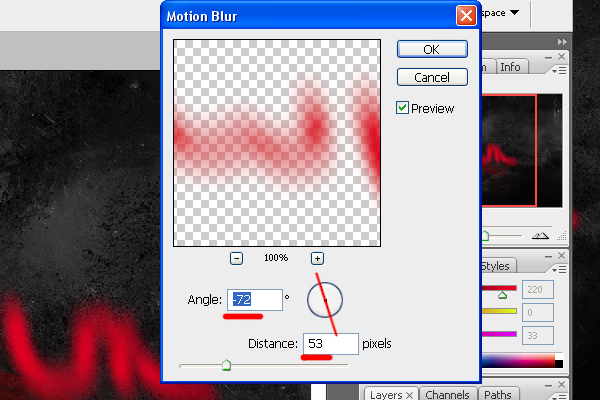
 Temporarily turn off the visibility of the text layer and go to Filter > Blur > Motion Blur.
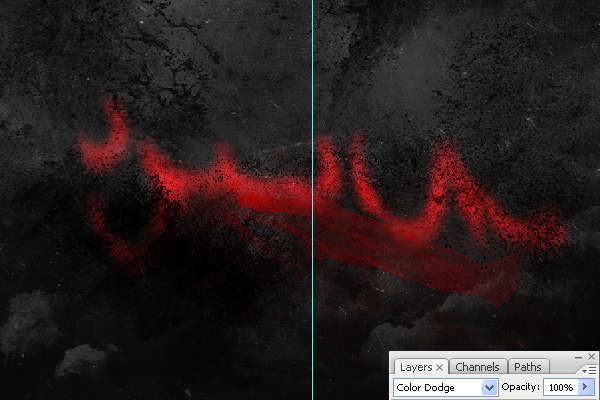
 Now use a soft 65 px brush to erase areas as shown and set blending mode to color dodge.

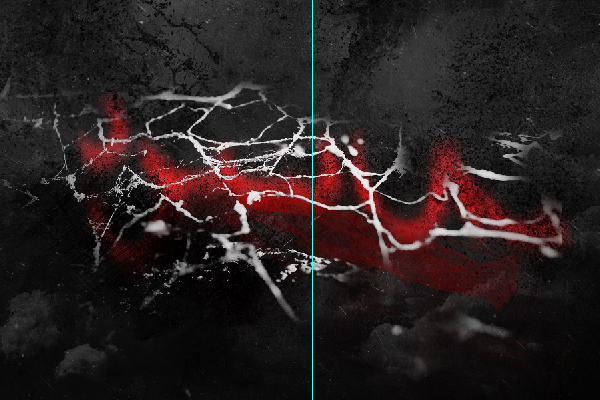 Create a clipping mask (Cmd/Ctrl + Alt + G) for this brush. Create a new layer above the brush layer and draw something similar to what is shown below.

 Here is how this layer looks without a mask.


 Use a soft eraser to remove areas you don’t like. Use the smudge tool to smooth out rough areas as well.

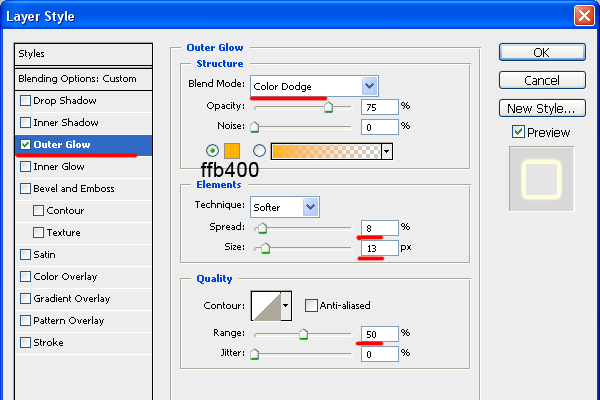
 Apply the following layer style.


 Set the blending mode of this layer to lighten and its transparency to 75%.


 Delete areas as needed with the eraser.
 Set the blending mode to screen.


Ornamental text can be created in several ways. Today we will demonstrate how to combine several stock images to create some nice gold ornamental typography. Let’s get started!
Resources Used
The following resources were used during the production of this tutorial:- Clouds
- Grunge Texture
- Splatter Brushes
- Grunge Brushes
- Blair Caps Font
- 3 Ornamental Stocks
- Splatter Brushes 2
- Brushes for Aztec
Step 1
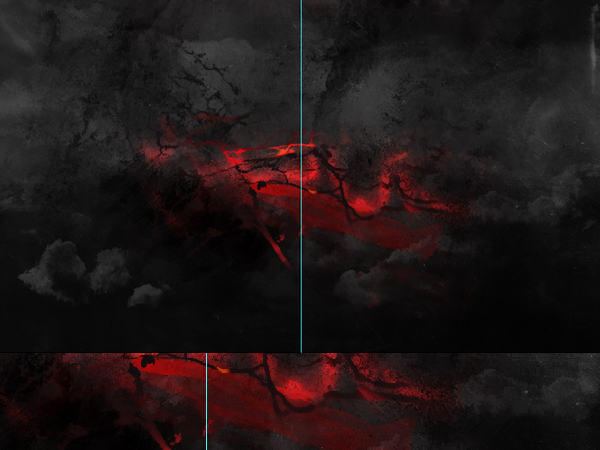
Create a new document 1400 x 800 px and fill it with black. Draw a vertical guide that cuts your document in half.Step 2
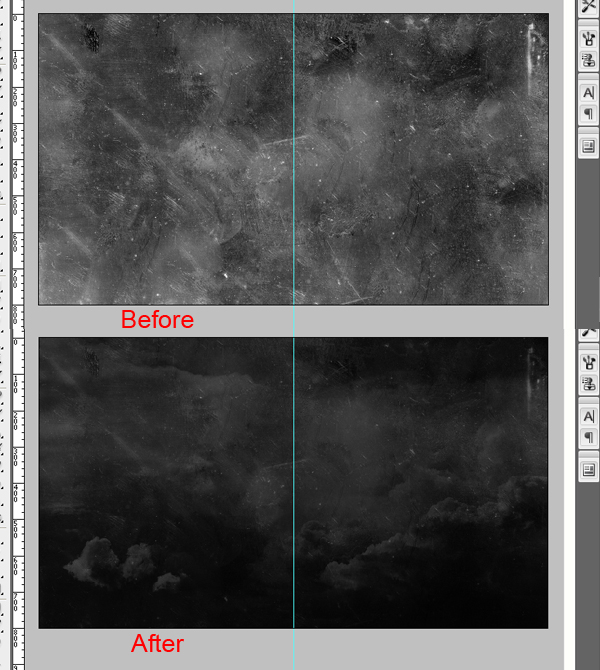
Place the clouds photo as shown. Now desaturate this image by going to Image > Adjustments > Hue/Saturation and apply the settings as shown.Step 3
Now place the grunge texture as shown and change its layer blending mode to soft light.Step 4
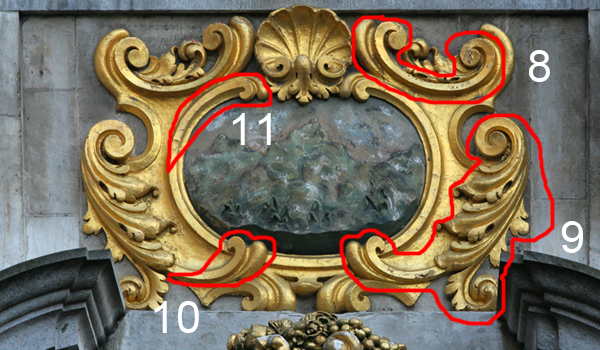
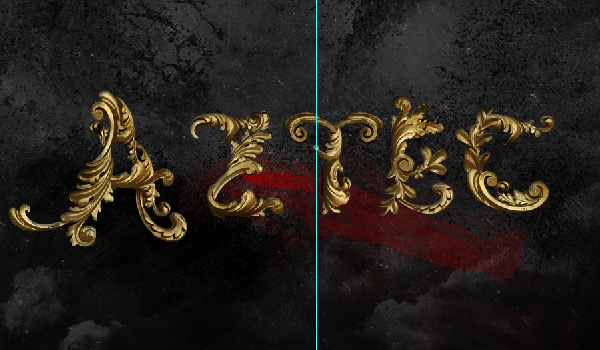
Now it’s time to start creating text. You can choose to create any word that you like but in this case we are going to create the word “Aztec.” For this step it is very important that you choose nice stock images to create the ornaments. I chose this package of images from CGTextures.com.Step 5
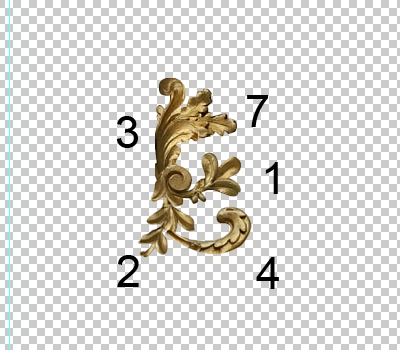
Extract ornaments using the Pen Tool as shown below. When you’re done you should have about 11 pieces.Step 6
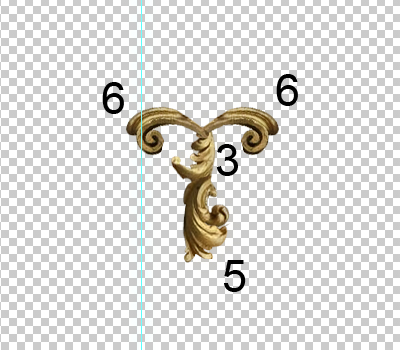
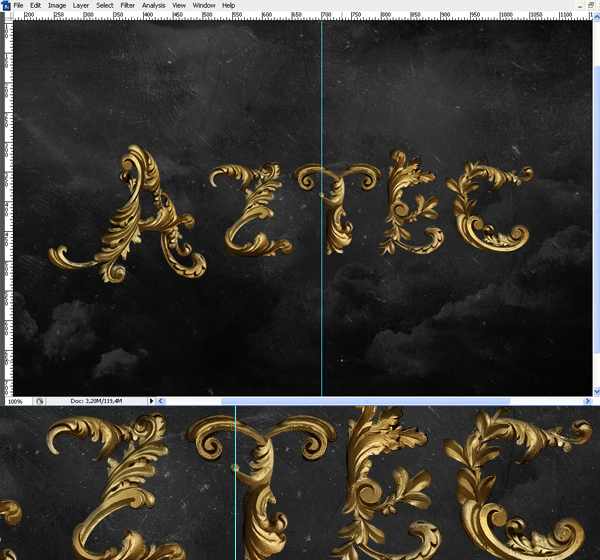
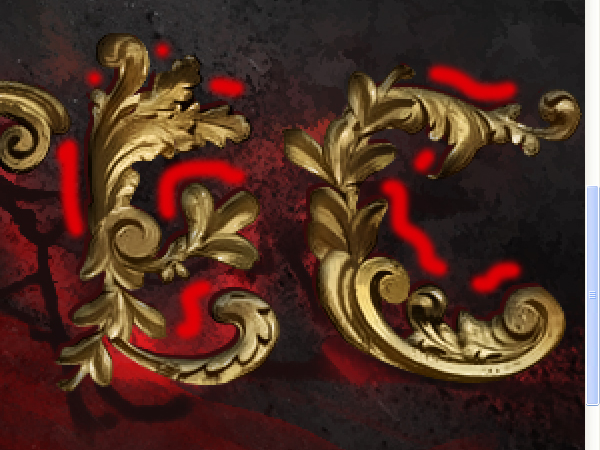
Now start combining these elements to create your letters. Feel free to warp, re-size, position, or erase areas as needed.Step 7
Repeat Step 6 until you have created a “z”.Step 8
Repeat Step 6 until you have created a “t”.Step 9
Repeat Step 6 until you have created a “e”.Step 10
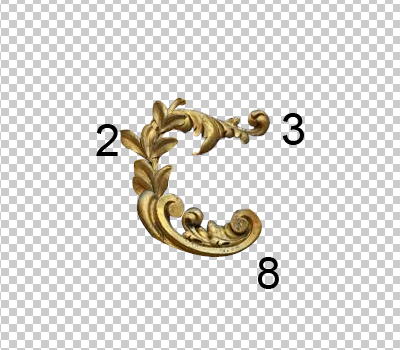
Repeat Step 6 until you have created a “c”.Step 11
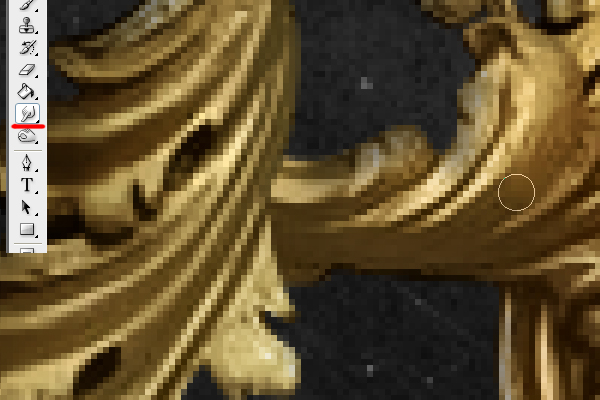
Now we need to start blending our letters together. To do this, duplicate all your layers and merge them down to one. Make sure to save a copy of all your layers just in case. Now take your smudge tool and start blending the elements together to make everything look smooth. A nice soft brush about 4 – 9 px should work well.Step 12
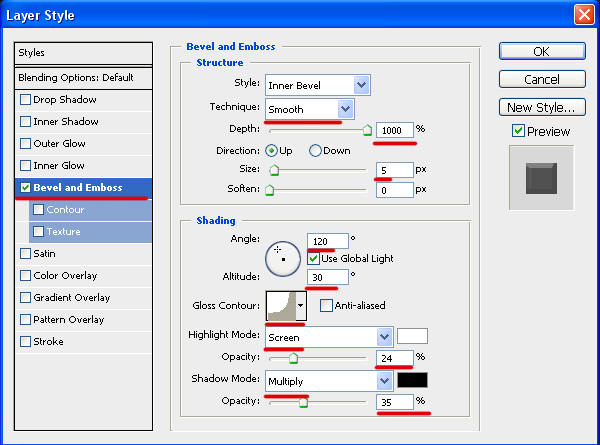
Now let’s add some shadows. Apply the following layer style to your text.Step 13
Applying an inner shadow will increase the contrast of the piece.Step 14
Now let’s add some additional elements to our background. Open the Splatter Brushes and apply them on a new layer as shown using black.Step 15
Now open this brush pack and select a red #8d0000 color. Use the first brush in the pack and paint some red in as shown.Step 16
With a red # dc0021 color still selected keep painting in some bright red highlights with a 35 px brush as shown below on a new layer.Step 17
Use the second brush from this pack and apply it to the background as shown on a new layer.Step 18
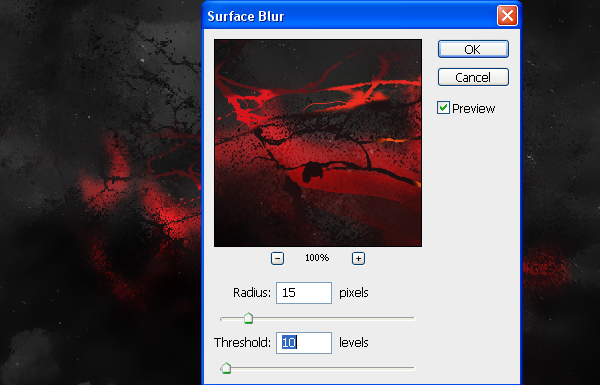
Merge all the background elements and go to Filter > Blur > Surface Blur.Step 19
Turn on your text layer’s visibility and draw in some highlights as shown with a 3 px #360a0b color.Step 20
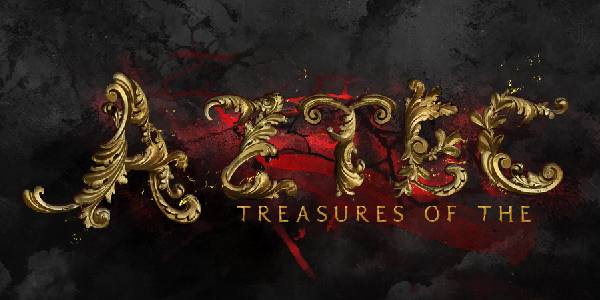
Select the type tool # cc982f and add the text “TREASURES OF THE” and place it as shown. Use the Blair Caps font and apply the layer styles as shown.Step 21
To add something extra to your text use a 3D brush from this pack and apply it on a new layer with #ddaf00 selected.Step 22
Add some sparks using this set of brushes.Step 23
Create a new layer above all others and take a large 300 px brush and paint in some black around the edges as shown. Now go to Blur > Gaussian Blur to smooth out the transition.Step 24
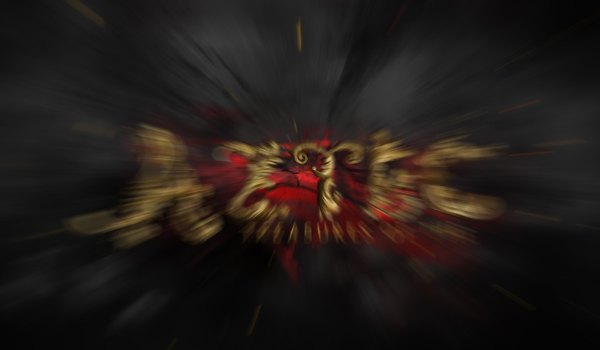
Duplicate and merge your layers into one. Now add a radial blur as shown.Step 25
Our artwork is almost complete! Add some backlights with a soft 100 px brush using #e96800 as shown.Step 26
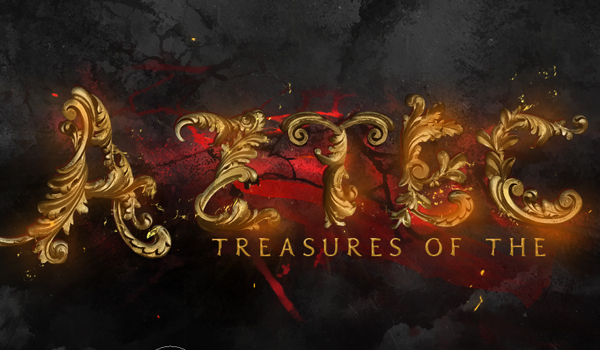
We’re almost finished! Go to Filter > Sharpen > Smart Sharpen. Then go to Layer > New Adjustment Layer > Brightness/Contrast. Done!
Comments
Post a Comment